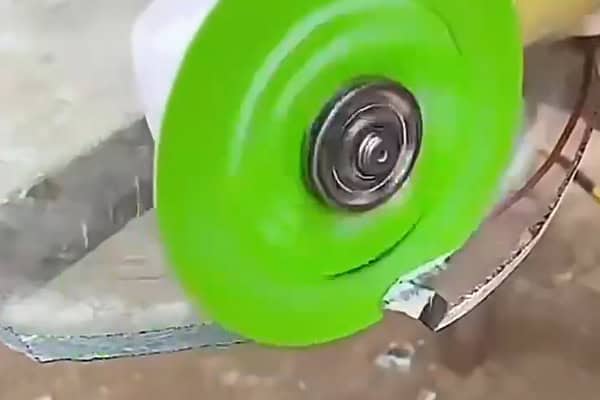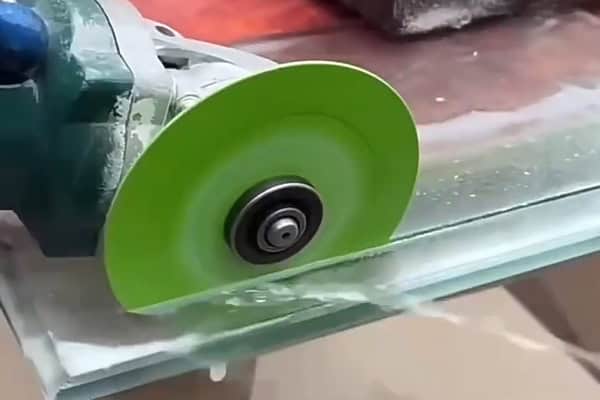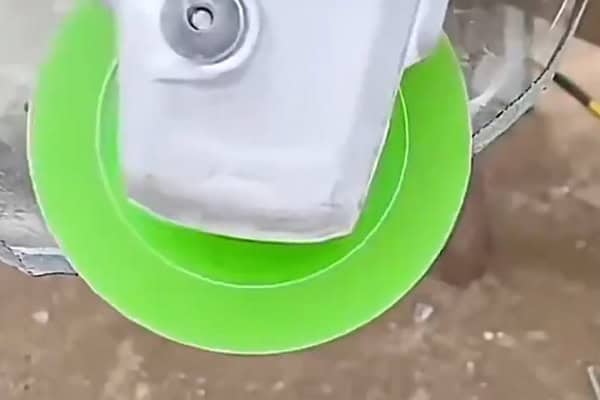
Drilling or cutting glass can seem intimidating, but with the right tools, it’s a lot easier than you might think. One versatile tool that can make this task even simpler is the glass saw blade. Whether you’re working on glass, ceramic, or bottles, this tool can help you achieve a clean, professional cut with minimal effort. Let’s explore how it works!
A glass saw blade, equipped with diamond grit edges, can cut through glass, ceramic, and even bottles without the need for drastic temperature changes. Simply score, cut, and use the grit edge for smooth finishes. It’s that simple!
Now, let’s take a deeper dive into how glass saw blades work, and why they’re such a game-changer for cutting and finishing projects.
How to Cut Glass: 5 Steps
Cutting glass with a glass saw blade can be a seamless process. With this tool, you don’t need to worry about using heat or cold to crack the glass. Let’s break down the steps!
Using a glass saw blade is simple—just apply the right pressure while cutting, and the diamond grit on the edges will ensure smooth, clean cuts every time.

Using a glass saw blade1 offers a quick, effective way to cut glass, ceramics, and bottles without the hassle of switching between hot and cold methods. Here’s how you can use it with ease.
Step 1: Prepare the Glass or Ceramic
Before you start cutting, make sure your glass or ceramic surface is clean. Dust or dirt can interfere with the blade’s effectiveness. You can lay the piece on a stable, flat surface to help with control during cutting.
Step 2: Scoring
Unlike traditional glass cutting, a glass saw blade allows you to make cuts without needing to score first. Simply position the blade and apply gentle, consistent pressure as you move it along the surface. It’s best to let the saw do the work rather than forcing it.
Step 3: Cutting
Cutting glass or ceramics with the saw blade is as simple as following your marked path. The diamond grit edge will handle the material with ease, and you don’t have to worry about the glass cracking under pressure. Whether you’re cutting a piece of glass or a ceramic bottle, the process remains smooth.
Step 4: Using the Grit Edge for Finishing
After making the cut, you can use the diamond grit edge of the saw blade to smooth out any rough or jagged edges. This eliminates the need for additional tools like sandpaper or grinders.
Step 5: Clean Up
Once you’re done, gently clean the glass or ceramic surface to remove any dust or debris. The clean edges left by the saw blade will ensure your piece is ready for whatever project you have in mind.
How Can You Cut a Glass Bottle at Home?
Cutting a glass bottle at home is easier than you might think with the right tool. The glass saw blade makes it possible to cut through the bottle without the need for drastic temperature changes.
You can use a glass saw blade to cut glass bottles at home—simply use the diamond grit edge to smooth the edges afterward for a clean, professional finish.

If you’ve ever wanted to repurpose glass bottles for a DIY project, you’ll be happy to know that a glass saw blade is the perfect tool for the job. Here’s how you can do it without needing to alternate between hot and cold techniques2.
Step 1: Mark the Bottle
First, mark the area where you want to make the cut. You can use tape or a permanent marker to help guide your saw blade. This will help keep your cut straight and precise.
Step 2: Position the Glass Saw Blade
Now, position your glass saw blade on the bottle and gently begin cutting along the marked line. Unlike traditional methods, you don’t need to score the bottle beforehand. The diamond grit edge of the blade will help you make clean cuts without risk of cracking.
Step 3: Smooth the Edges
After cutting, use the grit edge of the blade to smooth out the edges. This is especially important for bottle cuts, as sharp edges can be dangerous.
Step 4: Clean the Bottle
Finally, clean the bottle by removing any debris from the cutting process. Your bottle should now have a professional finish, with smooth, even edges ready for your next project.
What Are The Best Glass Cutting Tips?
Using a glass saw blade comes with a few tips to ensure the best results every time. Here are some expert tricks to help you cut and finish glass like a pro.
To get the best results with a glass saw blade, make sure to apply steady pressure, use the grit edge for smoothing, and take your time to ensure a clean cut.

When using a glass saw blade, there are a few key tips that can make a significant difference in your results. From maintaining control to using the grit edge3 for finishing, these tips will help you get smooth, precise cuts with ease.
Tip 1: Apply Steady Pressure
When cutting, it’s crucial to apply steady, consistent pressure. The glass saw blade is designed to do most of the work, so don’t rush it. Let the blade glide smoothly across the surface to avoid damaging the material.
Tip 2: Use the Grit Edge for Smoothing
One of the standout features of a glass saw blade is the diamond grit edge. After making your cut, use this edge to smooth out any rough or jagged areas. This eliminates the need for separate sanding tools.
Tip 3: Work Slowly
It’s easy to get impatient, but working slowly is key. Cutting glass or ceramics too quickly can cause uneven results, while taking your time ensures precision.
Tip 4: Safety First
Remember to wear safety goggles and gloves when cutting glass. The material can sometimes break unexpectedly, so it’s best to stay protected.
How to Make a Small Hole in Thin Glass?
Sometimes you just need a tiny hole in thin glass, like when you want to hang something or create a spot for wiring.
To drill a small hole in thin glass, use a diamond-tipped drill bit. Work slowly and apply water to keep the area cool while drilling.

Making a small hole in thin glass is easy with the right tools. A diamond-tipped drill bit will allow you to create a hole without damaging the glass, and adding water4 keeps it cool to prevent cracking. Here’s how to do it.
Step 1: Mark the Spot
Use a marker or tape to mark where you want to drill the hole. Precision is key, especially if the hole needs to be in a specific place.
Step 2: Use a Diamond-Tipped Drill Bit
A diamond-tipped drill bit is perfect for drilling through glass. These bits are specifically designed to handle hard materials like glass without causing damage. Be sure to go slow to avoid cracking.
Step 3: Keep the Area Cool
As you drill, apply water to the area. This keeps the glass from heating up, which can cause cracks or fractures. You can also pause frequently to let the glass cool down.
Step 4: Drill Slowly
Don’t rush the process. Let the drill bit do the work, and apply just enough pressure to make the hole without forcing the drill bit.
Çözüm
Cutting and drilling glass is easy with the right tools, like the glass saw blade. Whether you’re cutting through glass sheets, bottles, or ceramics, using the blade ensures a smooth, precise cut every time, and the diamond grit edges help smooth the finish. With these techniques, you’ll be able to tackle any glass project confidently.
-
Glass saw blades are specialized tools designed for cutting glass and similar materials. ↩
-
Compare the advantages of using a glass saw blade, which simplifies the process without requiring temperature manipulation. ↩
-
Benefits of using a blade with the appropriate grit edge for a cleaner finish. ↩
-
Importance of this step in preventing cracking and achieving cleaner holes. ↩