How To Drill a Hole in Glass?
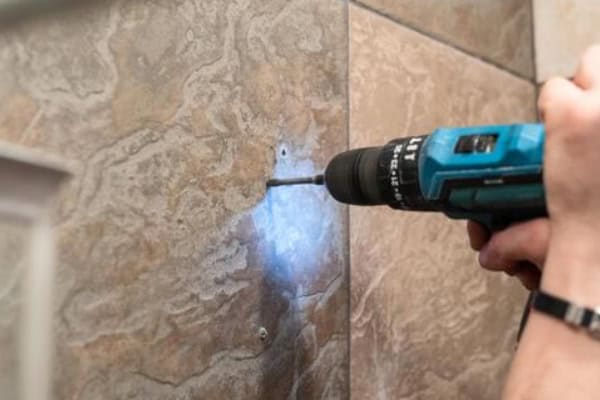
I can still picture the moment I first attempted to drill a hole in a delicate piece of glass. My heart pounded like a drumroll, and I was torn between excitement and dread, wondering if I’d end up with a smooth hole or a handful of shards.
The best way to drill glass safely is to use a specialized glass drill bit—ideally one tipped with tungsten carbide—at a low speed while applying light pressure. A steady flow of water or coolant helps keep temperatures down, protecting both the glass and the bit. This method minimizes cracks, prolongs the life of your tool, and guarantees a neat finish for your project.
Brace yourself. Let’s explore these details step by step.
What Bit Should I Use to Drill a Hole in the Glass?
Ever stared at a shelf full of drill bits and wondered if you can just grab any old one for glass? Trust me, it pays to get the right tool from the start.
Your go-to choice should be a tungsten carbide-tipped glass drill bit. Tungsten carbide is incredibly hard, which makes it perfect for dealing with the unique challenges of glass. Standard metal bits usually slip and struggle to get a clean cut1, while tungsten carbide bits can bite into the surface with minimal fracturing—an absolute game-changer when you’re handling something as fragile as glass.
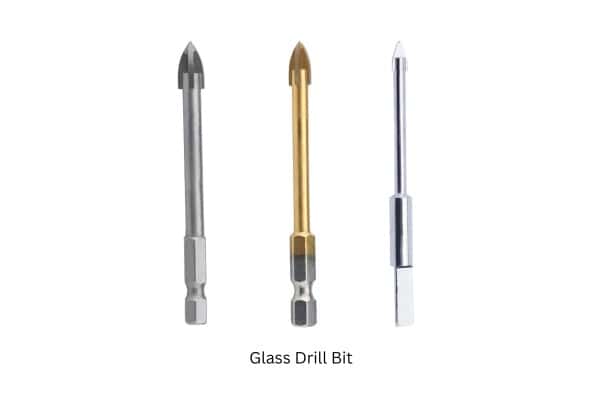
Dive Deeper into Drill Bit Selection
When I first tried drilling a small glass tile (way back during a home renovation spree), I used a typical steel bit. Let me tell you, I could practically feel it skidding across the surface, leaving ugly scratches in its wake. My nerves were on edge with every slip, imagining the tile would split at any moment. Eventually, it did. I’ve never forgotten that cringe-worthy sound of glass cracking. That fiasco convinced me to level up my tool game.
Why Tungsten Carbide?
- Sheer Hardness: Tungsten carbide is much harder than regular steel. This hardness allows the bit to cut through glass without dulling too quickly.
- Longevidad: Because it maintains its edge longer, a carbide-tipped bit is more cost-effective over time—especially if you plan to drill multiple holes or work with various glass projects.
Diamond-Coated Options
If you ever come across diamond-coated bits, they’re also a fantastic choice. Diamond-coated surfaces grind through glass smoothly, reducing the risk of cracks. However, they can be pricier, and sometimes harder to find. If you have the budget, they’re often worth the investment.
Avoiding the Wrong Bits
Regular masonry bits might look tough, but they aren’t always suited for the precision glass demands. You’ll end up creating extra friction, heat, and cracks—like I did on that poor tile. Even if you manage a hole, the outcome is often jagged or compromised.
| Bit Type | Best Use | Pros | Cons |
|---|---|---|---|
| Tungsten Carbide (Glass) | Glass, porcelain surfaces | Extremely hard, reduces slipping | Slightly more expensive |
| Diamond-Coated | Glass, ceramics | Highly efficient, smooth finish | Higher price point |
| Standard Masonry/Metal | Brick, wood, metal | Widely available, cheaper | Not ideal for glass drilling |
All things considered, your drilling experience (and results) will vastly improve if you opt for a glass-specific bit. Think of it as taking a specialized car on the perfect road; everything just glides smoother, and your final result looks far more polished.
Drilling Glass: 7 Steps
The idea of drilling glass2 might sound intimidating, but once you break it down into steps, it’s more like following a well-tested recipe. Each step has its own purpose, and skipping one can invite trouble.
From marking your spot to finishing with a gentle sanding, these seven steps—combined with a tungsten carbide glass bit—help you achieve a clean hole without those heartbreaking cracks. Whether you’re crafting a custom vase or attaching handles to a glass cabinet door, a little preparation goes a long way.
Dive Deeper into the 7 Steps
I’ll never forget the time I tried making a wind chime out of old glass bottles. In my enthusiasm, I hurried through the drilling process, thinking the faster I went, the sooner I’d have a whimsical garden ornament. Instead, I had a handful of broken bottle ends and a disappointed heart. After refining my approach, I discovered these steps:
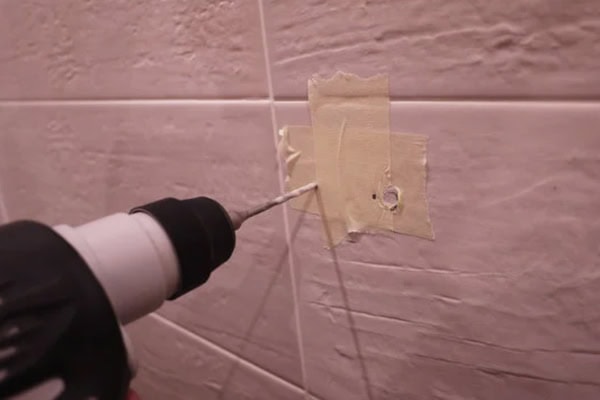
Step 1 – Mark the Spot
Use a piece of masking tape or a non-permanent marker to indicate where you want your hole. This prevents the drill bit from wandering, especially on glossy surfaces like glass.
Step 2 – Set Up a Stable Workspace
Lay the glass on a flat, protective surface—like an old towel or a piece of wood. If the piece is large, consider clamps to keep it from shifting. Any movement during drilling can cause micro-fractures.
Step 3 – Choose the Right Bit
We’ve covered this, but it’s worth repeating: tungsten carbide or diamond-coated bits are your allies for a smooth, crack-free hole.
Step 4 – Slow Speed
Glass is fragile, so keep the drill speed low. High RPMs can produce too much friction and heat in seconds, leading to cracks.
Step 5 – Consistent Water Lubrication
Spray or drip water (or a specialized coolant) onto the area you’re drilling. This step is key to keeping the glass cool and the drill bit sharp. It also flushes away glass dust, making the hole cleaner.
Step 6 – Light Pressure
This is not a “lean in with your full weight” kind of job. Instead, let the drill do the work. If you push too hard, you risk sudden cracks or chips.
Step 7 – Smooth the Edges
Once the hole is done, gently sand or file the edges with fine-grit sandpaper or a diamond file. It’s safer for your hands and gives the hole a professional finish.
By following these steps at a calm, measured pace, you’ll likely end up with a crisp hole and an intact piece of glass—exactly what you want for any DIY or professional project.
How to Cool Down a Drill Bit?
One of the most common questions I get about drilling glass is, “Do I really need water?” The short answer is an enthusiastic yes. Water is your best friend here.
Cooling your bit with water prevents heat buildup, which is the main culprit for sudden glass fractures. Even tungsten carbide can overheat3 and dull if friction goes unchecked. Whether you spray, drip, or even dip your setup in a shallow container of water, the aim is the same: keep it cool, calm, and crack-free.
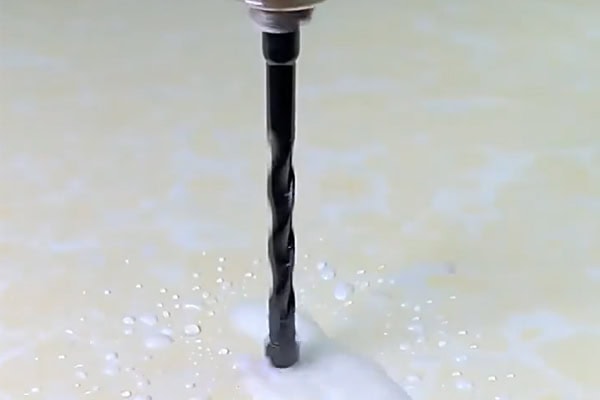
Dive Deeper into Cooling Techniques
Many years ago, I tried skipping the water during a quick fix—just a little hole in a glass jar to run a string of lights through. My logic? “It’s a small hole. How much heat could there be?” Well, enough heat to crack the jar and break my drill bit tip. That fiasco reminded me never to underestimate friction.
Different Cooling Methods
- Spray Bottle: Keep a spray bottle of water handy. Every few seconds, pause and mist the drilling area. This method is simple and inexpensive but does require frequent reapplication.
- Slow Drip Setup: Position a small container of water above your drilling surface, allowing a gentle drip directly over the contact point. It’s a bit more elaborate but offers continuous cooling.
- Submerged Drilling: For small pieces of glass, you can sometimes place the entire item in a shallow pan of water, ensuring just the drilling zone is submerged. Make sure everything is clamped securely to avoid slipping.
- Coolant Oils: Specialized oils or coolants are also available. They can be particularly helpful if you need to drill multiple holes or you’re working with thicker glass that generates more friction.
Remember, if you notice steam or smell burning, it’s time to pause. Let your bit cool off before continuing. A chilled bit is a sharp, effective bit, and your glass will stay in one piece.
| Cooling Method | Pros | Cons |
|---|---|---|
| Water Spray | Simple, affordable | Needs frequent application |
| Slow Drip Setup | Continuous cooling | More setup, can be time-consuming |
| Submerged Drilling | Constant cooling | Can be messy |
| Coolant Oils | Excellent lubrication | Can be costly, not always needed |
Can you Drill Glass without Water?
This question often pops up from people hoping to avoid any mess. Glass dust, water spills… I get it. But is it worth the risk?
Yes, you can theoretically drill glass without water, but it’s much riskier and generally not recommended. Heat and friction build up quickly, especially if you’re using a tungsten carbide bit4 at low speed. The result can be fine hairline cracks that might not appear right away but can ruin the piece later. Plus, glass dust is dangerous when inhaled, so any process that keeps dust down—like water lubrication—is a huge help.
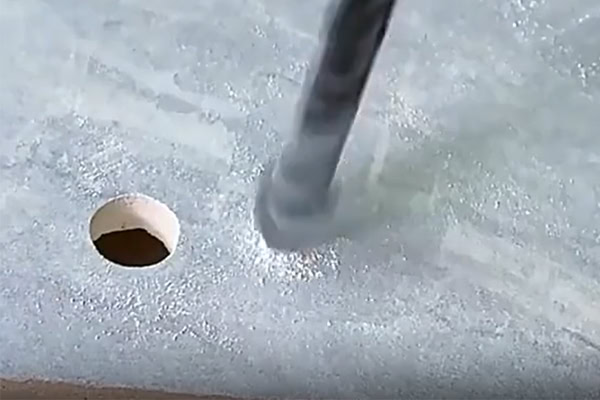
Dive Deeper into Water-Free Drilling
My neighbor once approached me with a clever plan to create a small “birdseed window” in a piece of upcycled greenhouse glass. He insisted on drilling dry, saying it would save him time and cleanup. Against my advice, he went for it, just wanting a tiny hole for some hooks. Midway through, a high-pitched squeaking sound started, and before he could react, a deep crack formed across the entire pane. The final “plink” as the glass broke in half was heartbreaking (though educational).
Why Some People Avoid Water
- Less Mess: No drips, no wet towels.
- Quick Setup: You just grab the drill and go, saving those extra steps.
The Downside
- Heat Buildup: With no lubrication, friction skyrockets, and the glass can quickly reach a point of thermal stress.
- Dust Hazard: Tiny glass particles float in the air—bad for your lungs and eyes.
- Shorter Bit Life: Even a tough tungsten carbide tip can dull or chip faster under hot, dry conditions.
If You Must
Maybe you’re in a pinch or working in a place where water isn’t readily available. In that case, consider taking frequent breaks, moving the drill bit in and out to reduce friction, or using a specialized glass-drilling oil. But honestly, none of these alternatives match the consistent, reliable cooling that a gentle water flow provides.
| Approach | Pros | Cons |
|---|---|---|
| No Water | Less cleaning needed | High risk of breaks, dust |
| With Water | Safer, cooler bit | Slightly more setup |
Bottom Line: Your glass, your drill bit, and your lungs will thank you if you take a moment to introduce water into the equation.
Conclusión
Drilling a hole in glass might feel like an intimidating task, but it doesn’t have to be. A tungsten carbide-tipped drill bit, low RPMs, gentle pressure, and a steady dose of water create a perfect formula for success. Take your time, keep everything cool, and you’ll soon have a clean, smooth hole that adds a personal touch to any project.
-
Offer users access to techniques and tips for making precise and clean cuts on glass, ensuring high-quality results and reducing material waste. ↩
-
Comprehensive guides and tips on how to drill glass effectively, ensuring they achieve clean results without damaging the material. ↩
-
Emphasizing the importance of proper cooling techniques. ↩
-
Comprehensive information on why this type of bit is preferred for durability and precision in cutting various materials. ↩